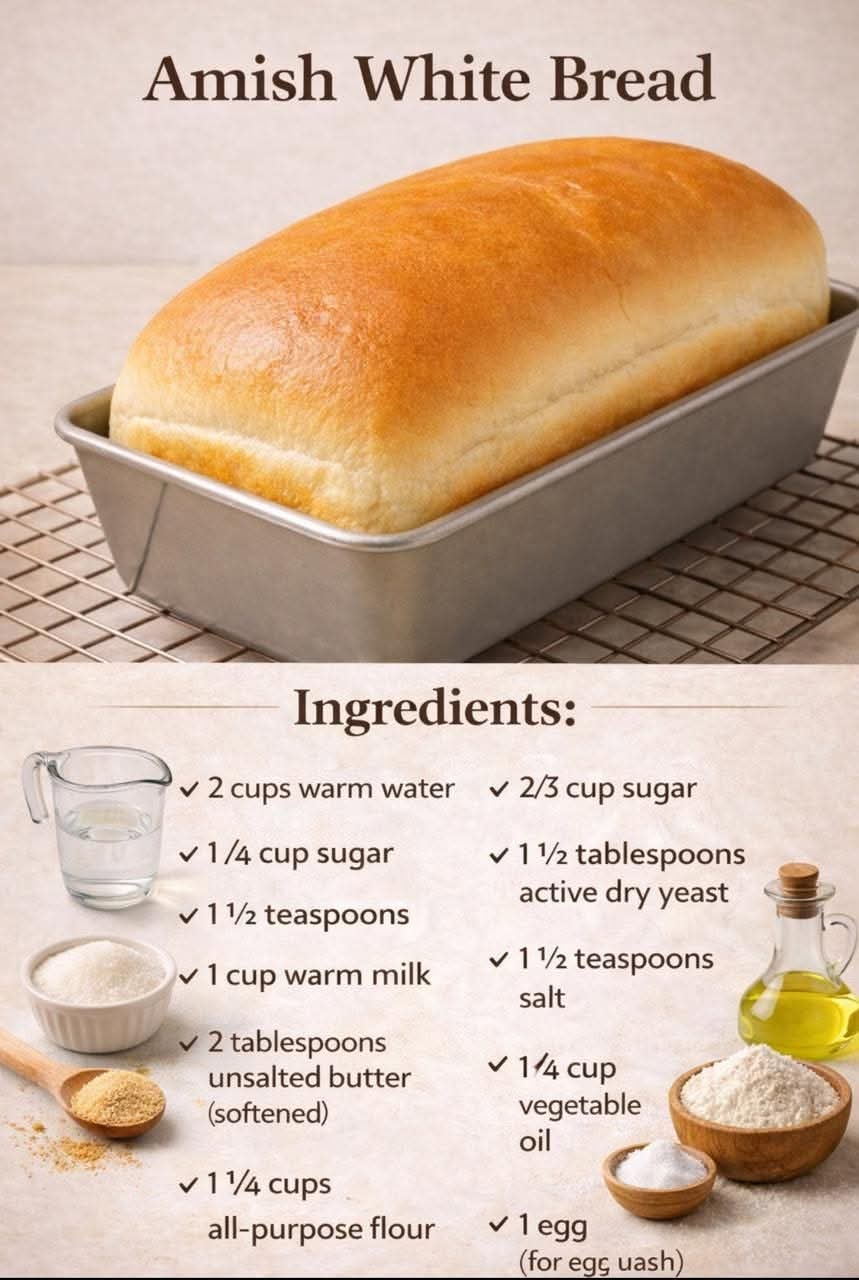
🍞 Amish White Bread Recipe
Introduction
There’s something wonderfully comforting about a loaf of homemade white bread fresh from the oven. This Amish White Bread is soft, tender, slightly sweet, and perfect for everything from morning toast to hearty sandwiches. Made with simple pantry ingredients, it has that classic homemade flavor that makes the kitchen smell absolutely incredible.
The dough is easy to prepare, rises beautifully, and bakes into a golden loaf with a soft interior. Whether you’re an experienced bread baker or making homemade bread for the first time, this recipe is a delicious place to start.
🛒 Ingredients
- 2 cups warm water
- 2/3 cup granulated sugar
- 1 1/2 tablespoons active dry yeast
- 1 1/2 teaspoons salt
- 1/4 cup vegetable oil
- 6 cups all-purpose flour
- Butter, optional, for brushing the finished loaves
👩🍳 Instructions
1. Activate the Yeast
Pour the warm water into a large mixing bowl. Stir in the sugar and sprinkle the active dry yeast over the top.
Let the mixture sit for about 5–10 minutes, until the yeast becomes foamy. This shows that the yeast is active and ready to work.
2. Add the Remaining Ingredients
Stir in the salt and vegetable oil.
Begin adding the flour, about 1 cup at a time, mixing well after each addition. Continue adding flour until a soft dough forms.
The dough should be slightly tacky but not excessively sticky.
3. Knead the Dough
Turn the dough onto a lightly floured surface and knead for approximately 8–10 minutes.
Work the dough until it becomes smooth and elastic. If it feels extremely sticky, add a small amount of flour at a time, being careful not to add too much.
4. First Rise
Place the dough into a lightly oiled bowl and turn it once so the surface is lightly coated.
Cover the bowl with a clean kitchen towel or plastic wrap.
Let the dough rise in a warm, draft-free place for approximately 1 hour, or until it has doubled in size.
5. Shape the Loaves
Once risen, gently punch down the dough to release excess air.
Divide the dough into two equal portions.
Shape each portion into a loaf and place them into greased loaf pans.
6. Second Rise
Cover the pans loosely and allow the dough to rise again for approximately 30–45 minutes, until the loaves look puffy and have risen nicely above the pans.
7. Bake
Preheat the oven to 350°F (175°C).
Bake the loaves for approximately 30 minutes, or until they are beautifully golden brown and sound hollow when gently tapped.
If the tops begin browning too quickly, loosely cover them with aluminum foil during the final portion of baking.
8. Finish and Cool
Remove the loaves from the oven and allow them to rest in the pans for about 5–10 minutes.
Transfer them to a wire rack to cool.
For an extra-soft, flavorful crust, brush the warm tops lightly with butter.
Allow the bread to cool sufficiently before slicing.
🍞 The Method
The secret to this bread is giving the yeast and dough enough time to develop. The warm water activates the yeast, while the sugar provides sweetness and helps create a beautiful golden crust.
Kneading develops gluten, which gives the bread its structure and satisfying texture. The first rise allows the dough to expand, while the second rise gives the shaped loaves their light and airy crumb.
The result is a soft, homemade loaf with a lightly sweet flavor and a wonderfully tender texture.
📜 A Little History
Amish cooking is often associated with simple ingredients, traditional preparation methods, and food made for sharing with family and community.
Recipes described as “Amish white bread” have become popular in American home kitchens because they capture that old-fashioned homemade-bread experience. While there are many versions and not every recipe comes directly from an Amish kitchen, the style reflects the broader tradition of baking wholesome breads from basic ingredients.
Homemade bread has long been a practical way for families to turn staple ingredients such as flour, yeast, water, and oil into an inexpensive and satisfying food that can accompany almost any meal.
🌾 Formation of the Bread
The formation of this loaf happens in several important stages:
Mixing: The ingredients come together to create a soft dough.
Kneading: Gluten develops, giving the dough strength and elasticity.
First fermentation: Yeast produces carbon dioxide, causing the dough to expand.
Shaping: The risen dough is divided and formed into loaves.
Second fermentation: The shaped dough rises again, creating a lighter texture.
Baking: Heat sets the structure while the crust turns golden brown and fragrant.
Cooling: The bread finishes setting, making it easier to slice cleanly.
❤️ Why Bread Lovers Love It
Bread lovers appreciate this recipe because it is:
- Soft and tender
- Lightly sweet
- Easy to make
- Made with everyday ingredients
- Perfect for sandwiches
- Delicious toasted with butter
- Wonderful alongside soups and stews
- Great for breakfast
- Suitable for freezing
- Perfect for sharing with family
There’s nothing quite like cutting into a warm homemade loaf and spreading butter over a fresh slice.
🍽️ Serving Ideas
Enjoy your Amish White Bread with:
- Butter and jam
- Honey
- Peanut butter
- Eggs and breakfast sausage
- Grilled cheese
- Turkey or ham sandwiches
- Homemade soup
- Meatloaf
- Stews and casseroles
For breakfast, toast a slice until golden and serve it with butter, honey, or your favorite preserves.
💡 Helpful Tips
- Use warm, not hot, water. Very hot water can damage the yeast.
- Don’t rush the rises. A properly risen dough produces lighter bread.
- Add flour gradually. The exact amount can vary depending on humidity and flour.
- Avoid over-flouring. Too much flour can make the finished bread dense.
- Let the bread cool before slicing. This helps the crumb finish setting.
- Store completely cooled bread in an airtight bag or container at room temperature for a few days.
- The baked loaves can also be wrapped well and frozen for longer storage.
🏡 Conclusion
This Amish White Bread is the kind of recipe that turns ordinary ingredients into something truly special. From the moment the yeast begins bubbling to the smell of golden bread filling the kitchen, the whole process feels wonderfully old-fashioned and comforting.
Whether you serve it with dinner, turn it into sandwiches, toast it for breakfast, or simply enjoy a warm slice with butter, this homemade bread is sure to become a favorite.
Fresh from the oven, soft in the center, golden on top, and lightly sweet—this is homemade bread worth sharing. 🍞❤️
👩🍳 For the Bread Lovers
If you love homemade bread, save this recipe! It’s simple enough for a beginner, comforting enough for a family dinner, and delicious enough to make again and again.
Bake a loaf, slice it warm, add a little butter, and enjoy the simple goodness of homemade bread. ❤️🍞
📌 Recipe at a Glance
Prep: About 20 minutes
Rising: About 1 1/2–2 hours
Bake: About 30 minutes
Yield: 2 loaves
Oven: 350°F (175°C)
🍞 Homemade, soft, slightly sweet, and wonderfully comforting!