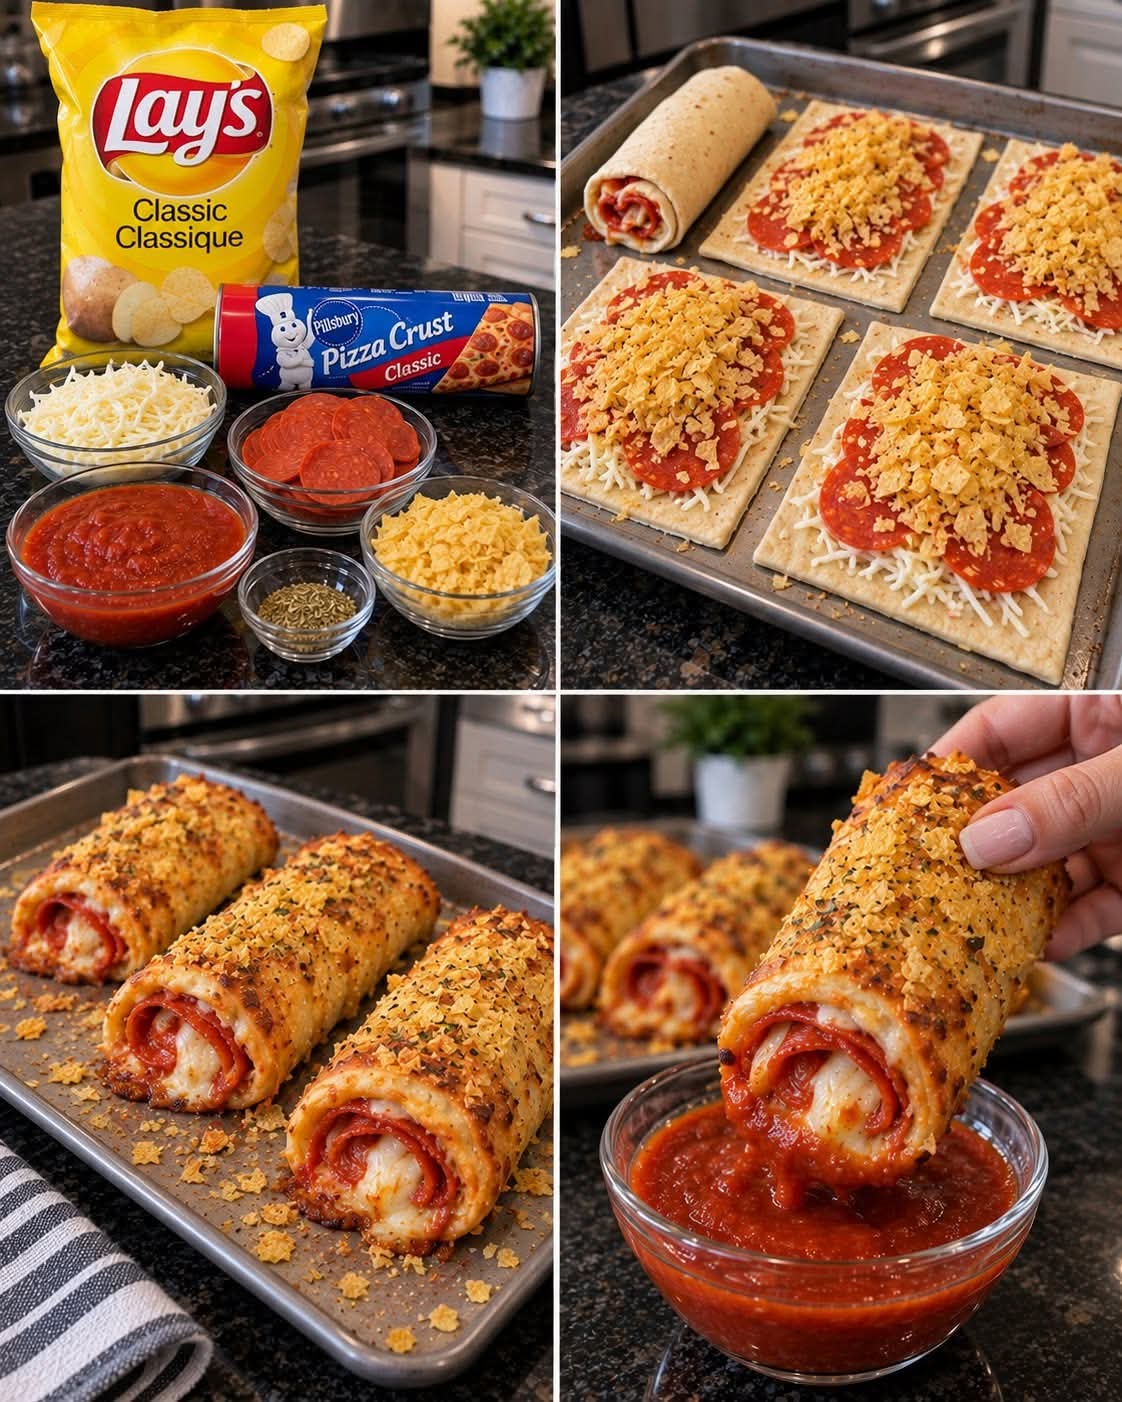
🍕 CRISPY PIZZA ROLL-UPS
Introduction
Crispy Pizza Roll-Ups are the perfect combination of everything you love about pizza and the irresistible crunch of a golden, crispy snack. They’re filled with gooey melted mozzarella, savory pepperoni, and rich pizza sauce, then rolled tightly and baked until beautifully crisp.
These fun little roll-ups are perfect for family dinners, after-school snacks, game nights, parties, lunchboxes, or easy appetizers. They’re simple enough for a busy weeknight but delicious enough to disappear from a party platter in minutes!
🛒 Ingredients
For the Roll-Ups
- 8 slices sandwich bread, crusts removed
- ½ cup pizza sauce or marinara sauce
- 1½ cups shredded mozzarella cheese
- 24–32 slices pepperoni
- 2 tablespoons grated Parmesan cheese
- 1 teaspoon Italian seasoning
- ½ teaspoon garlic powder
- 2 tablespoons melted butter
- 1 tablespoon chopped fresh parsley, optional
Optional Add-Ins
- Cooked crumbled Italian sausage
- Finely chopped mushrooms
- Diced bell peppers
- Black olives
- Cooked bacon bits
- Shredded cheddar or provolone
- Red pepper flakes for heat
👩🍳 Instructions
Step 1: Prepare the Bread
Preheat your oven to 400°F (200°C).
Place each slice of bread on a cutting board and use a rolling pin to flatten it as thin as possible. Flattening the bread makes it easier to roll and helps create that delicious crispy texture.
Remove the crusts if you haven’t already.
Step 2: Add the Pizza Filling
Spread a thin layer of pizza sauce over each flattened slice of bread.
Leave a small border around the edges so the filling doesn’t squeeze out when you roll it.
Add pepperoni and a small handful of shredded mozzarella. Sprinkle lightly with Italian seasoning and Parmesan.
Don’t overfill the bread—the roll-ups need to close tightly.
Step 3: Roll Them Up
Starting at one end, carefully roll each slice into a tight cylinder.
Place the roll-up seam-side down on a parchment-lined baking sheet.
Repeat with the remaining slices.
Step 4: Add the Crispy Topping
Brush the outside of each roll-up with melted butter.
Mix the remaining Parmesan with garlic powder and Italian seasoning, then sprinkle lightly over the roll-ups.
This gives them a flavorful, golden crust as they bake.
Step 5: Bake
Bake for approximately 12–15 minutes, turning them halfway through if needed.
Bake until the outside is golden brown and crispy and the cheese inside is completely melted.
For extra crispiness, you can broil them for 1–2 minutes at the end. Watch carefully so they don’t burn.
Step 6: Rest and Serve
Let the roll-ups cool for a couple of minutes before serving.
Serve warm with extra pizza sauce, marinara, or ranch dressing for dipping.
🍳 Cooking Method
The key to perfect Pizza Roll-Ups is thin bread, moderate filling, and high enough heat to create a crisp exterior.
Flattening the bread creates a compact wrapper. The butter helps the outside brown beautifully, while the mozzarella melts into the pepperoni and sauce.
For an even crispier version, these can also be cooked in an air fryer at 375°F (190°C) for about 7–9 minutes, checking frequently near the end.
📖 A Little History
Pizza itself has a long history rooted in Italian cooking, particularly in Naples, where flatbreads topped with simple ingredients became an important part of everyday food.
Over time, pizza-inspired snacks began appearing in many different forms. Cooks started transforming familiar pizza ingredients into bite-sized appetizers, sandwiches, pockets, pinwheels, and roll-ups.
Crispy Pizza Roll-Ups are a modern example of that idea: take the classic flavors of pizza and turn them into a fun, handheld snack that’s quick to prepare and easy to share.
🧀 Formation & Texture
The magic happens in layers:
Crispy outside → buttery seasoning → melted mozzarella → savory pepperoni → rich pizza sauce.
As the roll-ups bake, the butter helps the bread become golden and crunchy while the cheese melts into a gooey center.
The result is a snack that’s crispy on the outside, cheesy in the middle, and packed with classic pizza flavor.
❤️ Why Pizza Lovers Will Love Them
These roll-ups are made for pizza lovers!
They’re:
- 🍕 Crispy and golden
- 🧀 Extra cheesy
- 🌶️ Easy to customize
- 👨👩👧👦 Family-friendly
- ⏱️ Quick and easy
- 🎉 Perfect for parties
- 🥣 Great with dipping sauce
- 💰 Made with simple ingredients
You can easily change the filling depending on what your family enjoys. Try sausage and peppers, mushroom and cheese, or even a simple cheese-only version.
💡 Helpful Tips
Don’t overfill: Too much sauce or cheese can make the roll-ups difficult to seal.
Roll tightly: A snug roll helps keep the filling inside while baking.
Use parchment paper: It makes cleanup easier and helps prevent sticking.
For extra crunch: Give the finished roll-ups an additional minute or two in the oven, watching closely.
Make them spicy: Add crushed red pepper flakes or spicy pepperoni.
Make them vegetarian: Skip the pepperoni and add mushrooms, peppers, spinach, or olives.
🍽️ Serving Suggestions
Serve these hot alongside:
- Warm marinara sauce
- Garlic butter
- Ranch dressing
- Extra pizza sauce
- Caesar salad
- Fresh vegetables
- Potato wedges
- A simple green salad
For a party, cut each roll-up in half and arrange them on a large platter with several dipping sauces in the center.
🏆 Conclusion
Crispy Pizza Roll-Ups prove that you don’t need to make a full pizza to enjoy those classic cheesy, saucy flavors.
With simple ingredients and an easy preparation method, you can turn ordinary bread into a golden, crispy treat that the whole family will love.
They’re quick enough for a weekday snack, fun enough for kids, and delicious enough to serve at parties. Once you make them, don’t be surprised if everyone asks you to make another batch!
🍕 Final Thought
Crispy on the outside, cheesy on the inside, and loaded with pizza flavor—these Pizza Roll-Ups are the kind of snack that disappears FAST! ❤️