🍌 Banana Pudding Cheesecake Cones
A dreamy mashup of two Southern dessert legends—classic banana pudding and rich cheesecake—served in crisp, hand-held cones. These Banana Pudding Cheesecake Cones are creamy, nostalgic, playful, and perfect for parties, picnics, or anytime you want a no-bake dessert that feels both comforting and impressive.
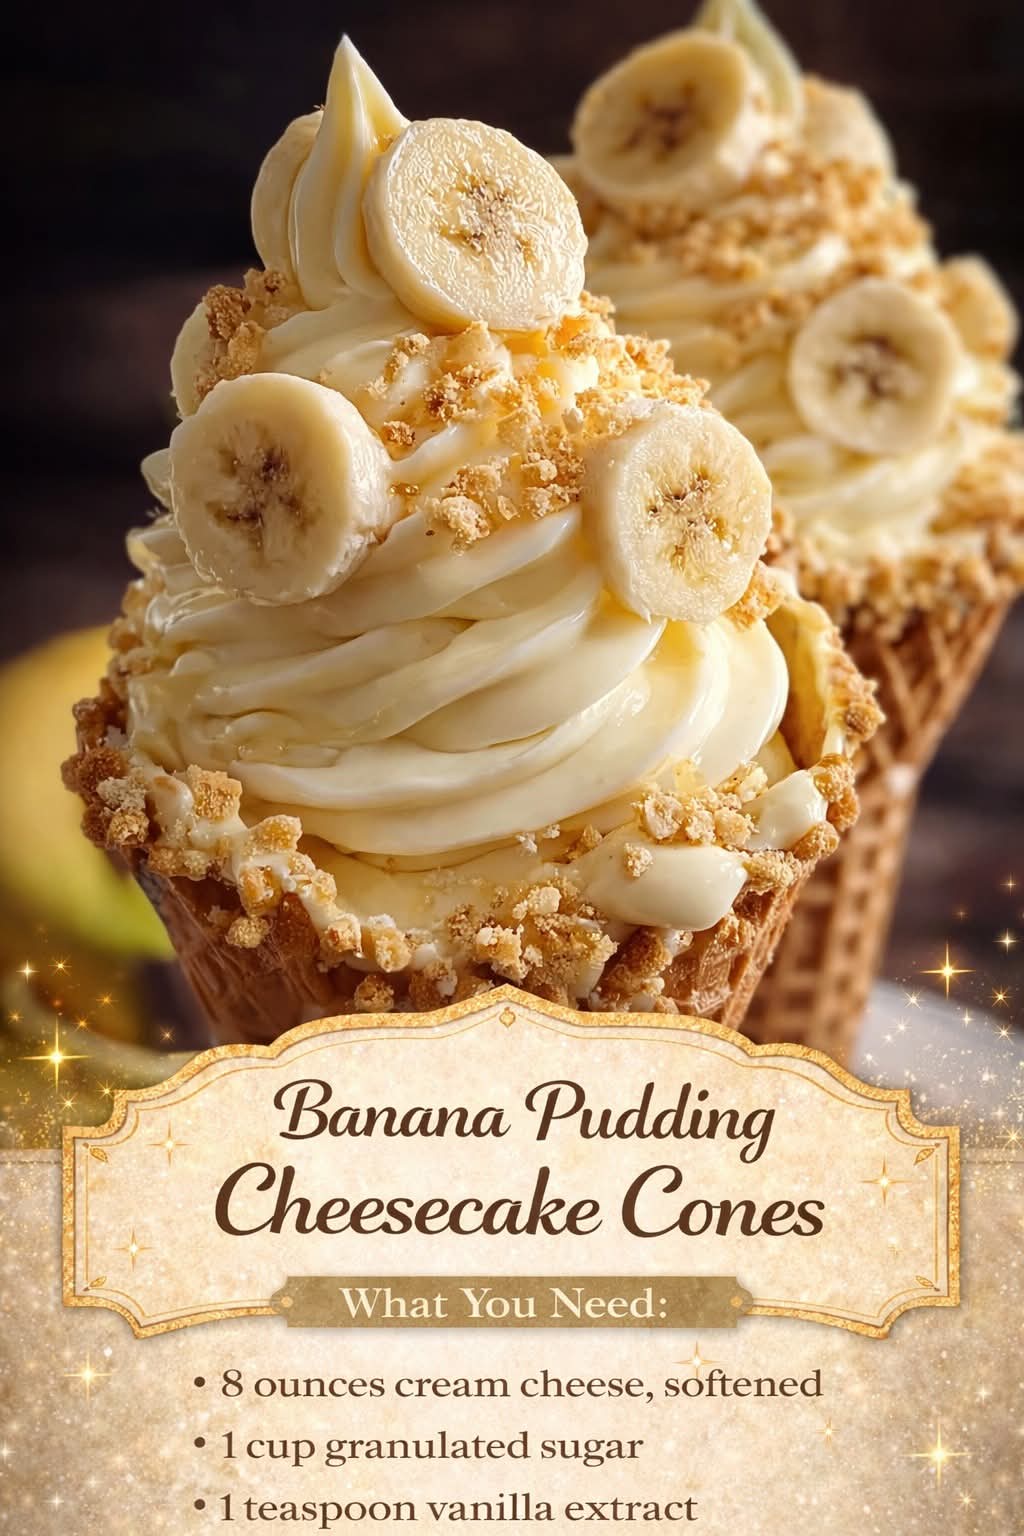
🧾 Ingredients
Cheesecake Filling
- 8 ounces cream cheese, softened
- 1 cup granulated sugar
- 1 teaspoon vanilla extract
- 1 tablespoon lemon juice (brightens the flavor)
- 1 cup heavy whipping cream, whipped to stiff peaks
Banana Pudding Layer
- 1 (3.4 oz) box instant banana pudding mix
- 1½ cups cold milk
Assembly
- 3 ripe bananas, sliced
- 12 waffle cones or sugar cones
- 1 cup crushed vanilla wafers
- Whipped cream, for topping
- Extra vanilla wafers or banana slices for garnish
👩🍳 Instructions
Step 1 — Prepare the Cheesecake Base
- In a large bowl, beat the cream cheese until smooth and fluffy.
- Add sugar, vanilla, and lemon juice. Beat until creamy and lump-free.
- Gently fold in the whipped cream until light and airy. Set aside.
Step 2 — Make the Banana Pudding
- Whisk together the banana pudding mix and cold milk.
- Let it sit for 3–5 minutes to thicken.
Step 3 — Create the Filling
- Fold the thickened pudding into the cheesecake mixture.
- Mix gently until fully combined and silky.
Step 4 — Assemble the Cones
- Drop a spoonful of crushed vanilla wafers into the bottom of each cone.
- Pipe or spoon in a layer of cheesecake-banana filling.
- Add a few banana slices.
- Repeat layers until cones are filled to the top.
Step 5 — Garnish
- Top with whipped cream, wafer crumbs, and a banana slice.
Step 6 — Chill
- Refrigerate cones upright for 30–60 minutes before serving so they set.
🧁 Methods & Tips
- No-Bake Method: Perfect for hot days—no oven required.
- Piping Bag Trick: Use a piping bag for neat, bakery-style filling.
- Crunch Factor: Add wafer crumbs between layers to keep texture.
- Prevent Soggy Cones: Add crumbs first; they act as a moisture barrier.
- Make Ahead: Prepare filling ahead, assemble cones just before serving.
📜 A Little History
This dessert is inspired by two beloved Southern classics:
- — A layered dessert of bananas, custard/pudding, and wafers popular across the American South since the late 1800s.
- — A creamy dessert dating back to ancient times, later perfected in modern American kitchens with cream cheese.
Bringing them together in a cone is a modern, fun twist that turns a spoon dessert into a handheld treat.
🧩 Formation (Why This Works)
- Cheesecake adds richness and stability.
- Banana pudding adds nostalgic flavor.
- Wafers add crunch and authenticity.
- Cones make it portable, fun, and party-friendly.
❤️ Who Loves This Dessert?
- Kids love the cone presentation.
- Adults love the nostalgic banana pudding flavor.
- Party hosts love the no-mess serving.
- Dessert lovers adore the creamy-crunchy contrast.
🏁 Conclusion
Banana Pudding Cheesecake Cones are the perfect blend of comfort and creativity. They’re easy to make, beautiful to serve, and guaranteed to disappear fast. One bite delivers creamy cheesecake, sweet banana pudding, crunchy wafers, and a crisp cone—all the joy of a classic dessert in a playful new form.