Below is a large, richly detailed recipe for Warm Homestead-Style Homemade Ciabatta Bread, including introduction, history, formation (science), ingredients, instructions, methods, conclusion, and sections dedicated to “bread lovers.”
If you’d like it shorter, more poetic, or formatted differently, just tell me!
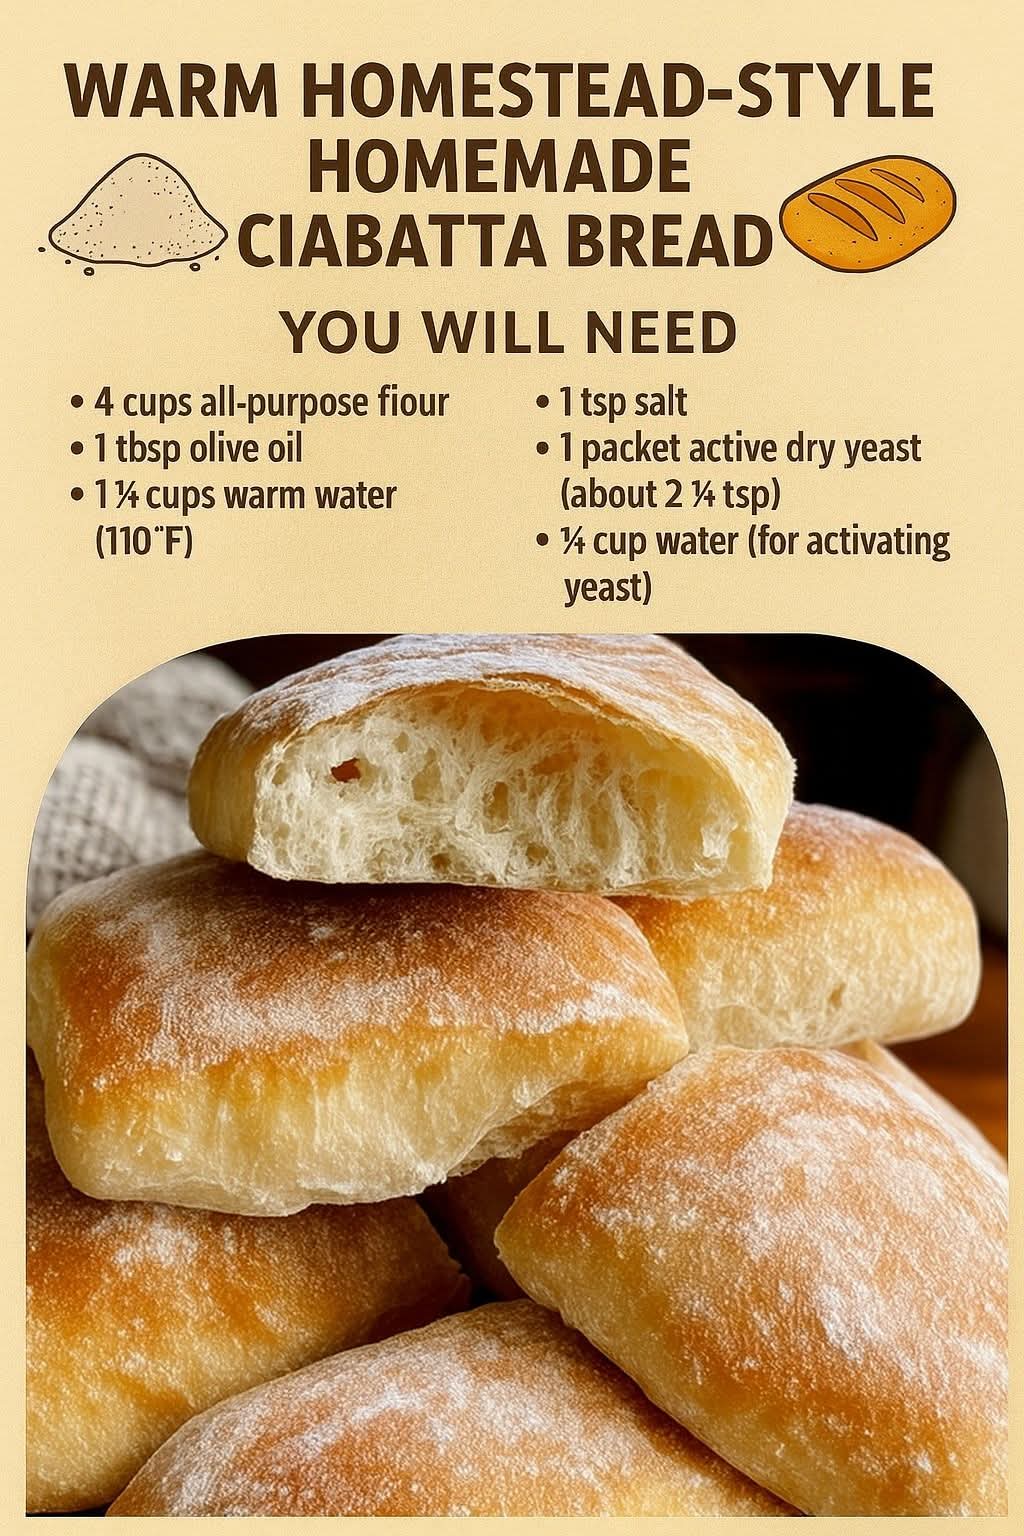
🍞 Warm Homestead-Style Homemade Ciabatta Bread
A rustic loaf with airy holes, a crisp golden shell, and the comforting aroma of an old-world farmhouse kitchen.
🌾 Introduction
Few breads feel as comforting and naturally crafted as ciabatta. Translating to “slipper” in Italian—thanks to its long, flat shape—ciabatta is the bread that welcomes you home. Its open crumb, chewy texture, and earthy aroma make it perfect for sandwiches, dipping in olive oil, or simply enjoying warm with butter.
This recipe is crafted in a traditional homestead style, using slow fermentation to develop deep flavor and a beautifully structured loaf. It is ideal for both baking beginners and bread lovers eager to master artisan techniques.
📜 History of Ciabatta
Ciabatta is surprisingly modern.
Unlike many ancient European breads, ciabatta was created in 1982 by a baker named Arnaldo Cavallari in the Veneto region of Italy. It was developed as Italy’s answer to French baguettes, which were dominating sandwich culture at the time. Cavallari wanted a bread with:
- A thin, flaky crust
- A light, irregularly airy structure
- A strong enough form for panini
Ciabatta quickly spread across Europe and eventually the world—evolving into region-specific variations such as ciabatta integrale (whole wheat) and ciabatta al latte (milk-based).
🧪 Formation and the Science Behind Ciabatta
Ciabatta’s famous large holes come from:
1. High Hydration (75–85%)
More water = a wet, sticky dough = open crumb.
2. Minimal Handling
No aggressive kneading. Gentle folding preserves air pockets.
3. Slow Fermentation
A long, cold rise develops flavor and structure.
4. Strong Gluten Development
Mostly achieved through rest time, not kneading.
🥖 Ingredients
🫓 For the Poolish (Preferment)
- 1 cup (240 ml) lukewarm water
- 1 cup (130 g) bread flour
- ⅛ tsp instant yeast
🍞 For the Dough
- All of the poolish
- 2 ¼ cups (300 g) bread flour
- ¾ cup (180 ml) water (room temperature)
- 1 ½ tsp salt
- ½ tsp instant yeast
- 1 tbsp olive oil (optional for a softer crumb)
👩🍳 Instructions & Methods
Step 1 — Prepare the Poolish (Overnight Preferment)
- In a bowl, mix flour, water, and yeast.
- Stir until smooth and sticky.
- Cover and let sit 12–16 hours at room temperature until bubbly and fragrant.
Method note:
This step builds flavor depth and encourages gluten formation with minimal effort.
Step 2 — Mix the Dough
- Add water, salt, yeast, and olive oil to the poolish.
- Stir vigorously with a spoon or your hand.
- Add the flour and mix until a wet, shaggy dough forms.
Method note:
This is a high-hydration dough—sticky is normal! Do not add extra flour.
Step 3 — Gluten Development (Stretch & Fold)
Over the next 2 hours, perform 4 sets of stretch-and-folds:
- Wet your hand.
- Grab one side of the dough, stretch it upward, and fold over.
- Rotate bowl 90° and repeat four times.
- Rest 30 minutes between sets.
Method note:
This replaces kneading. It strengthens the dough gently while keeping it airy.
Step 4 — Bulk Fermentation
Let the dough rest until doubled—usually 1 to 1.5 hours.
The surface should be domed, jiggly, and full of bubbles.
Step 5 — Shape the Ciabatta
- Generously flour your work surface.
- Gently turn the dough out—do NOT punch it down.
- Dust the top with flour.
- Cut into two long rectangles.
- Stretch softly to shape into “slippers.”
Method note:
Less handling = more holes in the crumb.
Step 6 — Final Rise
Cover and let rest 35–45 minutes.
The dough should puff slightly but not double.
Step 7 — Bake
- Preheat oven to 475°F (245°C) with a baking stone or upside-down sheet and an empty tray at the bottom.
- Slide loaves onto the stone.
- Pour a cup of hot water into the lower tray for steam.
- Bake 20–25 minutes until golden, crisp, and hollow-sounding.
❤️ For Bread Lovers
No bread speaks to bread lovers quite like ciabatta.
It is the bread of:
- Olive-oil dippers
- Panini makers
- Rustic-sandwich dreamers
- Crust crunchers
- Artisan bread romantics
Eat it warm while the crust still crackles and the aroma fills the room.
Bread lovers know: this moment is sacred.
❤️ Another Section for Lovers (As Requested)
For those who love not only bread but the experience of bread:
- Lovers of slow living
- Lovers of homestead kitchens
- Lovers of flour-dusted hands
- Lovers of traditions passed down quietly
- Lovers who share a warm loaf across a wooden table
Ciabatta is more than food—it’s a gesture of warmth.
✔️ Conclusion
Homestead-style ciabatta is a celebration of simplicity, patience, and old-world flavor. With minimal equipment and just a handful of ingredients, you can create a loaf that feels like a gift from a rustic farmhouse kitchen. The airy crumb, crisp crust, and comforting aroma make every minute of slow fermentation worth it.